Automated inspection of gaps on the automobile production line through stereo vision and specular reflection
| 13 of 13 | << First | < Previous | Back to gallery |
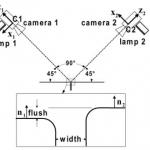
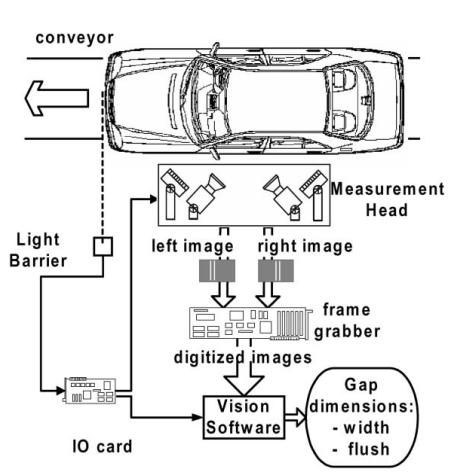
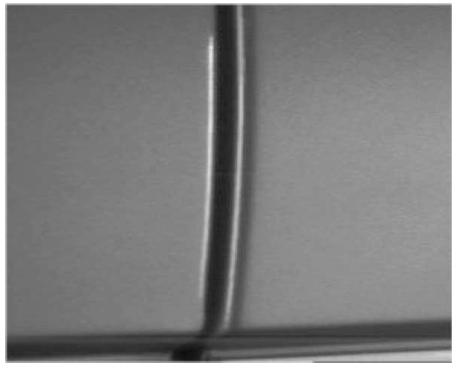
One of the most difficult tasks in the later stages of automobile assembly is the dimensional inspection of the gaps between the car body and the various panels fitted on it (doors, motor-hood, etc.). The employment of an automatic gap-measuring system would reduce the costs significantly and would offer high flexibility. However, this task is still performed by humans and only a few — still experimental — automatic systems have been reported. In this paper, we introduce a system for automated gap inspection that employs computer vision. It is capable of measuring the lateral and the range dimension of the gap (width and flush, correspondingly). The measurement installation consists of two calibrated stereo cameras and two infrared LED lamps, used for highlighting the edges of the gap through specular reflection. The gap is measured as the 3D distance between the highlighted edges. This method has significant advantages against the laser-based, gap-measuring systems, mainly due to its color independency. Our approach has been analytically described in 2D and extensively evaluated using synthetic as well as real gaps. The results obtained verify its robustness and its applicability in an industrial environment.


